Get the Bold Look: A Step-by-Step Tutorial for the Bat Wing Eyeliner Technique"
Learn how to perfectly create this bold and modern take on the classic winged eyeliner.

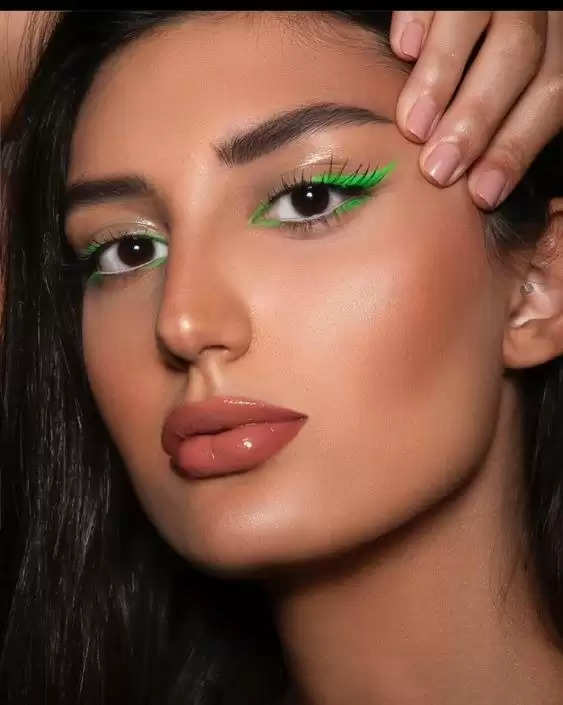
Bat wing eyeliner is a trendy, versatile makeup look that you can easily wear to the office or, with enough practice, turn into an all-out glam Halloween head-turner. The term "bat wing" refers to the shape of the overall appearance, which resembles a flying curve like a bat's wing. It was created by celebrity makeup artist Katie Jane Hughes and works best on those with hooded eyes. They may find it challenging to achieve a traditional liner look as the wing gets buried in the crease. However, the Bat Wing Eyeliner's pronounced C-notch really helps to sculpt the wing and give hooded eyes a slightly elevated cat-eye look.

A simple 6-step tutorial for a bat wing
Eyeliner look
Step 1: Prime your eyelids
Applying an eyeshadow primer to your lids will help create a smooth, even canvas for your beautiful eyeliner look. It will also help preserve your liner by preventing premature fading or smudging.
Step 2: Set the primer with some powder
Set the primer with some loose translucent or compact powder. Choose a powder that matches your skin tone for best results. The powder will ensure that your eyeliner doesn't smudge or migrate onto your lids or browbones.
Step 3: Make a rough sketch of the design of your choice
Sketch the dotted line of the bat's wing with a pencil liner. Pencil liners are more flexible and glide easily on your lids. If you're going for a creative, Batman-inspired graphic wing, this will help you accurately translate your vision.
Step 4: Create an outline
Grab your favorite eyeliner and create thin, regular lines on your lids. By simply outlining, you leave less room for error. Since the lines are thin, you can quickly correct any mistakes and smudges without ruining the whole look.
Step 5: Fill it
Once you have completed the outline fill in the rest of the design. Avoid using too much product to prevent the eyeliner from running.
Step 6: Fix any smudges or stray lines
Don't worry if your eyeliner doesn't look flawless right away. Use a cotton swab dipped in makeup remover or an eyeshadow brush with concealer to clean and finish any corners. If you prefer a softer look, dip your eye shadow brush in the same shade you used for the sketch and blend the C-notch into your crease.